
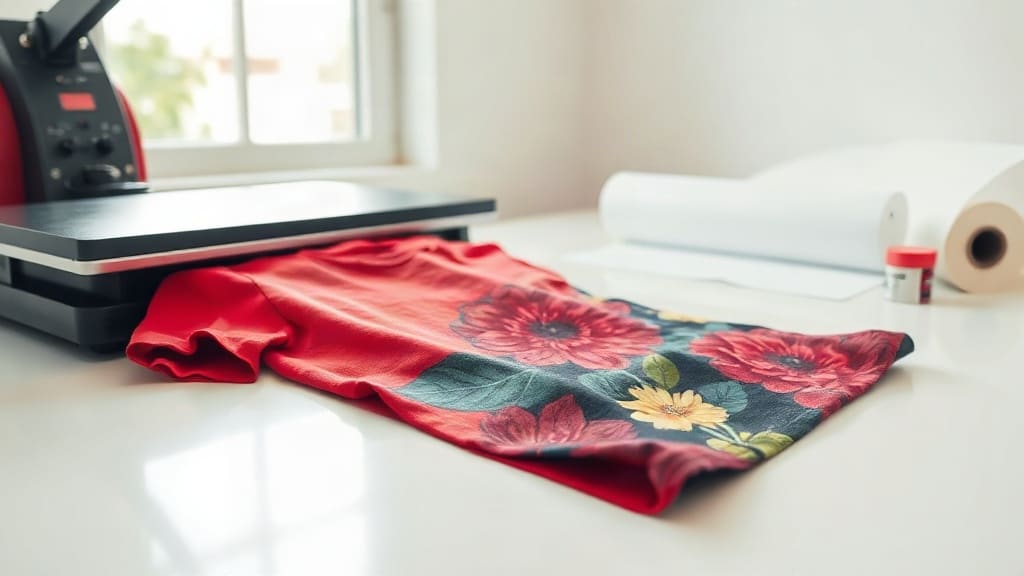
If you've been looking for a way to create custom apparel that feels soft, looks vibrant, and lasts through countless washes, dtf transfers are likely the answer. This innovative method has taken the custom printing world by storm, offering a seamless way to bring your designs to life on a wide range of fabrics. Unlike traditional screen printing or vinyl, DTF (direct-to-film) transfers allow you to print full-color designs with intricate details, all without the need for screens or weeding. In this guide, I'll walk you through everything you need to know, from how they work to tips for perfect application, so you can decide if they're right for your next project.
What Are DTF Transfers?
At its core, DTF is a printing process where a design is printed onto a special PET film using a DTF printer. The film is then coated with an adhesive powder, which is melted and cured, creating a transfer that can be heat-pressed onto fabric. The result is a vibrant, durable print that feels like part of the garment itself. The beauty of dtf transfers lies in their versatility: they work on cotton, polyester, blends, and even non-fabric materials like bags and hats.
Unlike screen printing, which requires separate screens for each color, DTF prints all colors in one pass. That makes it an excellent choice for complex, multi-colored designs or photographic images. And because the transfer is stored as a film, you can produce custom orders on demand without worrying about minimum quantities.
How DTF Transfers Work: A Step-by-Step Overview
Step 1: Printing the Design
First, you need a DTF printer, typically an Epson or Ricoh converted inkjet printer that uses special DTF inks (CMYK plus white). The design is printed in reverse onto a PET film, with the white ink serving as a base layer for colors to pop, especially on dark garments. Some printers allow you to print white directly, while others require a separate white ink channel.
Step 2: Applying Adhesive Powder
Once the ink is printed, a hot-melt adhesive powder is applied while the ink is still wet. The powder adheres only to the printed areas, thanks to the sticky nature of the ink. This step is crucial because it ensures the transfer will bond with the fabric during pressing.
Step 3: Curing the Transfer
The film is then passed through a curing oven or heat press to melt the powder and create a solid adhesive layer. This makes the transfer dry to the touch and ready for storage or immediate use. Curing also activates the adhesive properties, so the transfer will stick firmly when pressed.
Step 4: Heat Press Application
When you're ready to make a shirt, you simply place the transfer face down on the fabric and heat press it for about 10-15 seconds at around 300°F (150°C). After pressing, you peel the film away, revealing your design. The transfer should be fully bonded to the fabric, and you can wash it as normal.
Why Choose DTF Transfers?
There are several reasons why DTF has become a favorite among small business owners, hobbyists, and even large-scale apparel companies. Let's break down the key benefits:
- Soft Hand Feel: Unlike thick vinyl or plastisol prints, DTF prints have a soft, flexible feel that doesn't crack or peel easily.
- High Detail: You can print tiny text, gradients, and even realistic images with excellent color accuracy.
- Versatility: Works on a variety of fabrics, including 100% cotton, polyester, and blends, as well as nylon and leather (with proper care).
- No Screen Setup: Since there are no screens to burn, you can print unlimited colors and change designs instantly.
- Cost-Effective for Small Runs: Perfect for one-off custom orders or small batches, as there's no need for large minimums.
- Easy Storage: Printed transfers can be stored for months and applied later, making it easy to keep inventory on hand.
Of course, DTF also has some limitations. The initial investment in a printer and powders can be significant, and the process requires some practice to master. But for most people, the advantages far outweigh the drawbacks.
DTF Transfers vs. Other Heat Transfer Methods
To truly appreciate the value of dtf transfers, it helps to compare them with other popular methods like screen printing, vinyl (HTV), and sublimation.
DTF vs. Screen Printing
Screen printing is known for its durability and ability to produce large quantities at low per-unit costs. However, it requires a significant upfront setup for each color, making it impractical for single or small orders. DTF, on the other hand, has no setup costs and can handle full-color designs in one run. If you're doing small custom orders, DTF is more cost-effective.
DTF vs. Vinyl (HTV)
Vinyl is great for simple, one-color designs and offers a durable, matte finish. But cutting vinyl can be time-consuming, especially for intricate designs. DTF eliminates weeding entirely and produces a softer feel. Plus, you can achieve gradients and photographic details that vinyl simply can't match.
DTF vs. Sublimation
Sublimation is ideal for full-color designs on polyester fabrics, but it doesn't work on cotton (unless you use special coatings). DTF works on both cotton and polyester, making it more versatile. Sublimation is also best for all-over prints, while DTF is typically used for smaller logos or designs.
Tips for Getting the Best Results with DTF Transfers
Even though DTF is straightforward, a few tricks can help you achieve professional-quality prints every time. Here are my top tips:
- Use the Right Film: Make sure you're using high-quality PET film designed for DTF. Cheap film can cause tackiness or poor transfer.
- Shake the Powder Well: The adhesive powder needs to be mixed thoroughly to ensure even distribution. If it clumps, you'll see uneven adhesion.
- Apply Enough Powder: Don't skimp on the powder. If you don't apply enough, the transfer won't stick properly to the fabric.
- Choose the Correct Press Settings: Temperature, pressure, and time are critical. I recommend pressing at 300°F (150°C) for 10-15 seconds with medium to firm pressure. Always test on a scrap piece first.
- Use a Teflon Sheet: Place a Teflon sheet or parchment paper between the heat press and the film to protect your press and ensure even heat distribution.
- Peel Warm or Cold? Most DTF films require a warm peel, but some are designed for cold peel. Check the manufacturer's instructions. For most, you can peel while it's still warm to the touch (about 100°F) for a cleaner result.
- Pre-Press Your Garment: To remove moisture and wrinkles, pre-press your shirt for a few seconds before applying the transfer. This improves adhesion.
Creative Uses for DTF Transfers
Beyond t-shirts, dtf transfers open up a world of possibilities. Here are some creative applications:
- Custom Hoodies and Sweatshirts: Perfect for sports teams, events, or cozy gifts.
- Tote Bags: Create personalized shopping bags or promotional items.
- Hat Transfers: DTF works on structured hats if you use the right technique; you may need a hat press for even pressure.
- Denim Jackets: Add a bold design to the back of a denim jacket for a unique fashion piece.
- Pet Apparel: Make matching bandanas or sweaters for your furry friends.
- Home Decor: Transfer designs onto pillowcases, curtains, or table linens to add a personal touch.
- Corporate Branding: Produce custom polos or uniforms for your staff without large minimums.
How to Care for DTF Printed Garments
To ensure your DTF prints last, follow these care instructions:
- Wash Inside Out: This protects the print from friction against other clothes.
- Use Cold Water: Hot water can weaken the adhesive over time.
- Avoid Harsh Detergents: Stick to mild detergents without bleach or fabric softeners.
- Air Dry or Low Heat: High heat in the dryer can cause the transfer to crack or peel. If you must use a dryer, opt for a low heat setting.
- Don't Iron Directly: If you need to iron, do it on the reverse side or use a pressing cloth.
Following these steps will keep your prints looking fresh for a long time, even after many washes.
Common Mistakes to Avoid When Using DTF Transfers
Even experienced printers make mistakes. Here are some common pitfalls and how to avoid them:
- Not Shaking the Powder: As mentioned, clumpy powder leads to poor adhesion.
- Incorrect Press Time: Too little time means the transfer won't stick; too much can cause the adhesive to bleed or the film to scorch.
- Using the Wrong Peel Technique: Pulling the film off too quickly can pull up parts of the design. Peel gently and at the recommended temperature.
- Printing Too Many Colors Without White Base: If your design has translucent areas, you need a white underbase. Always use white ink for light colors on dark fabrics.
- Ignoring Pre-Tests: Always test on a scrap fabric to adjust settings before pressing your final garment.
Frequently Asked Questions About DTF Transfers
Can I use DTF transfers on dark-colored shirts?
Absolutely. One of the main advantages of DTF is that it works beautifully on dark fabrics. The white ink layer ensures that your colors remain vibrant and opaque, so your design won't fade into the background. Just make sure your printer is set to print a sufficient amount of white ink for dark garments.
What is the best fabric for DTF transfers?
DTF works well on cotton, polyester, and most blends. Cotton and cotton-poly blends are the easiest to press and give excellent durability. For high-polyester fabrics, you may need to adjust the temperature and time to avoid scorching, but it's still possible with the right settings.
How long do DTF transfers last?
With proper application and care, DTF prints can last for a long time. They are designed to withstand repeated washing and wearing, typically outlasting many other heat transfer methods. In my experience, they hold up well even after 50+ washes if you follow the care instructions.
Can I make DTF transfers at home?
Yes, you can! While the initial investment in a DTF printer and powders might be around $1,000-$3,000, it's possible to set up a small home operation. Alternatively, you can order custom DTF transfers from companies like DTF Creative Hub and simply press them at home with a heat press.
Do I need a special heat press for DTF transfers?
No, a standard heat press works fine. You just need to ensure it can reach the required temperature (around 300°F) and provide even pressure. A clamshell or swing-away press both work; just make sure the platen is clean.
Final Thoughts
DTF transfers have truly changed the game for custom apparel. They offer a perfect balance of quality, versatility, and convenience that appeals to both beginners and professionals. Whether you're looking to start a custom t-shirt business, create unique gifts, or simply explore a new creative hobby, DTF is definitely worth your attention. With the tips and insights in this guide, you're well-equipped to get started and produce stunning results. So why not give it a try? Your next favorite shirt might just be a dtf transfer away.