
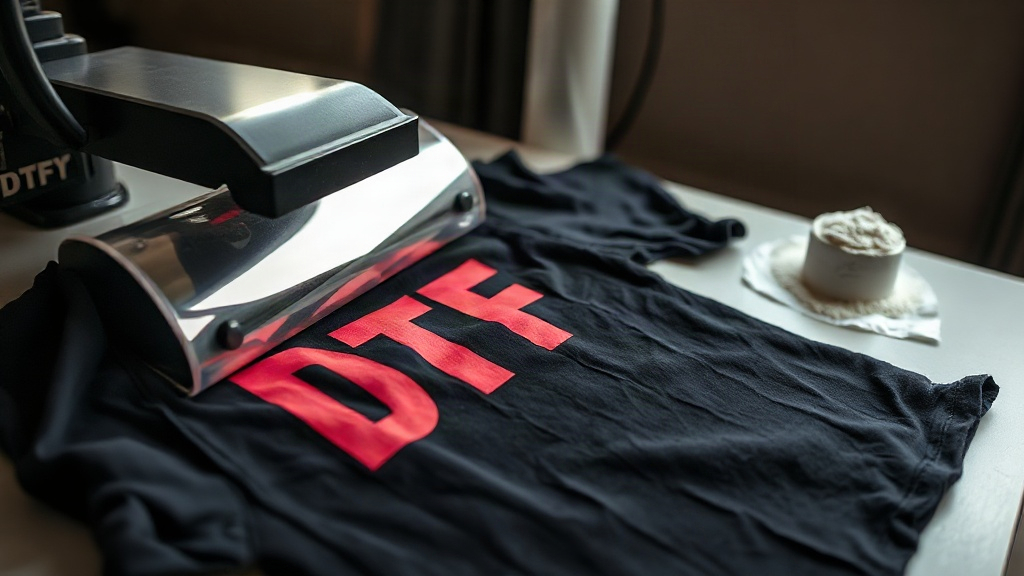
When I first heard about DTF printing, I was skeptical. Could a transfer really feel soft, stretch without cracking, and work on any fabric? After months of testing, I can say yes. DTF printing has become my go-to method for custom apparel, and in this guide, I'll share everything I've learned so you can get flawless results from day one.
What Exactly Is DTF Printing?
DTF stands for Direct-to-Film. Unlike DTG (Direct-to-Garment) or screen printing, DTF involves printing your design onto a special PET film, coating it with adhesive powder, and then heat-pressing it onto the fabric. The result is a vibrant, detailed transfer that bonds permanently to the material. Because the design sits on top of the fabric rather than soaking in, DTF works beautifully on cotton, polyester, blends, and even tough materials like canvas and leather.
Why DTF Might Be Your New Favorite Method
There are plenty of decoration methods out there, but DTF offers a unique mix of benefits that make it stand out.
- No weeding or masking: Unlike vinyl, you don't have to cut and weed tiny details. The printer handles everything.
- Works on almost any fabric: From 100% cotton to 100% polyester and everything in between, DTF adheres reliably.
- Stretch and durability: The transfer moves with the fabric, so it won't crack or peel after a few washes.
- Full-color and photographic details: Because it's a digital print, you can reproduce complex gradients and photos with ease.
- Low startup cost: No need for screens or expensive equipment; a good printer and a heat press are enough.
Understanding the DTF Process Step by Step
Getting a perfect DTF transfer isn't magic; it's a series of precise steps. Here's how it all comes together.
1. Design Preparation
Start with a high-resolution image. For best results, use a PNG with a transparent background at 300 DPI. If your design has fine lines or small text, make sure they're at least 2-3 points thick so they don't get lost in the print. I always do a test print on plain paper to check the size and placement before committing to film.
2. Printing on Film
Load your DTF printer with PET film. The printer lays down a layer of white ink first (if you're using a printer with white ink), followed by the color layers. This white base is crucial because it makes the colors pop on dark fabrics. After printing, the film comes out wet; you'll need to powder it.
3. Powdering and Curing
While the ink is still wet, sprinkle hot-melt adhesive powder evenly over the design. Shake off the excess, then cure the film in an oven or with a heat gun until the powder melts and becomes glossy. This step is what gives the transfer its stretch and washability. I use a dedicated curing oven, but a heat press with a lower temperature can work in a pinch.
4. Heat Pressing
Set your heat press to 300-325°F (150-160°C) with medium pressure. Pre-press the garment for a few seconds to remove moisture. Place the transfer on the fabric, cover it with a Teflon sheet or parchment paper, and press for 10-15 seconds. Let it cool completely before peeling the film. For a softer feel, you can try a warm peel, but I find cold peel gives the most reliable results.
Common DTF Problems and How to Fix Them
Even with experience, things can go wrong. Here are the issues I've encountered and how I solved them.
Transfer Not Sticking
If the transfer peels off after pressing, it's usually due to insufficient pressure, temperature, or time. Increase one variable at a time and test again. Also, make sure the fabric is clean and dry.
Colors Look Dull
This often happens when the white ink layer is too thin. Check your printer settings and ensure the white ink density is high enough. Also, shaking the ink cartridges before printing can help maintain consistent flow.
Cracking After Washing
Cracking typically means the powder didn't cure properly. Make sure the powder is fully melted and glossy before pressing. Also, avoid over-stretching the garment when you put it on.
DTF vs. Other Printing Methods: A Quick Comparison
How does DTF stack up against DTG and vinyl? Here's a quick rundown.
- DTG: Best for 100% cotton, but requires pre-treatment and can be inconsistent on blends. DTF is more versatile.
- Vinyl: Great for simple one-color designs, but weeding is time-consuming and layering multiple colors is tricky. DTF handles complex art effortlessly.
- Screen Printing: Cost-effective for large orders, but setup is expensive and time-consuming. DTF wins for small batches and detailed designs.
Essential Supplies for Starting DTF
Before you dive in, gather these items to set yourself up for success.
- A DTF printer (Epson conversions are popular)
- PET film (cold or hot peel)
- Hot-melt adhesive powder
- Heat press
- Curing oven or heat gun
- Teflon sheets or parchment paper
- Design software (Photoshop, Illustrator, or free alternatives like GIMP)
Frequently Asked Questions About DTF Printing
Can I use DTF on dark shirts?
Absolutely. In fact, DTF excels on dark fabrics because the white ink base creates a bright underlayer that makes colors stand out. Just ensure your printer has white ink capabilities and that you cure the powder properly.
How long does a DTF transfer last?
With proper application and care, a DTF transfer can last as long as the garment itself. Wash inside out in cold water and avoid ironing directly on the print. I've had shirts last over 50 washes with no fading or cracking.
Do I need a special printer for DTF?
You can convert a standard inkjet printer (like an Epson EcoTank) to use DTF inks and film. However, dedicated DTF printers are available and often yield better results with less hassle. If you're just starting, a conversion is a cost-effective way to test the waters.
What's the difference between hot peel and cold peel film?
Hot peel film allows you to remove the film while it's still hot, which can give a slightly softer finish. Cold peel requires the transfer to cool completely before peeling, which often results in sharper details and better adhesion. I recommend cold peel for beginners because it's more forgiving.
Can I layer DTF transfers?
Yes, you can layer DTF transfers, but it's tricky. You'll need to press the first transfer, then apply the second on top, ensuring the first is completely cool. Use a lower pressure for the second press to avoid disturbing the first layer. For best results, design your artwork to include all elements in a single transfer.
Final Thoughts
DTF printing has opened up a world of possibilities for custom apparel. Whether you're a hobbyist or a small business owner, it offers a flexible, durable, and high-quality way to bring your designs to life. Remember, practice makes perfect. Start with simple designs, master the process, and soon you'll be creating stunning DTF transfers with confidence.