
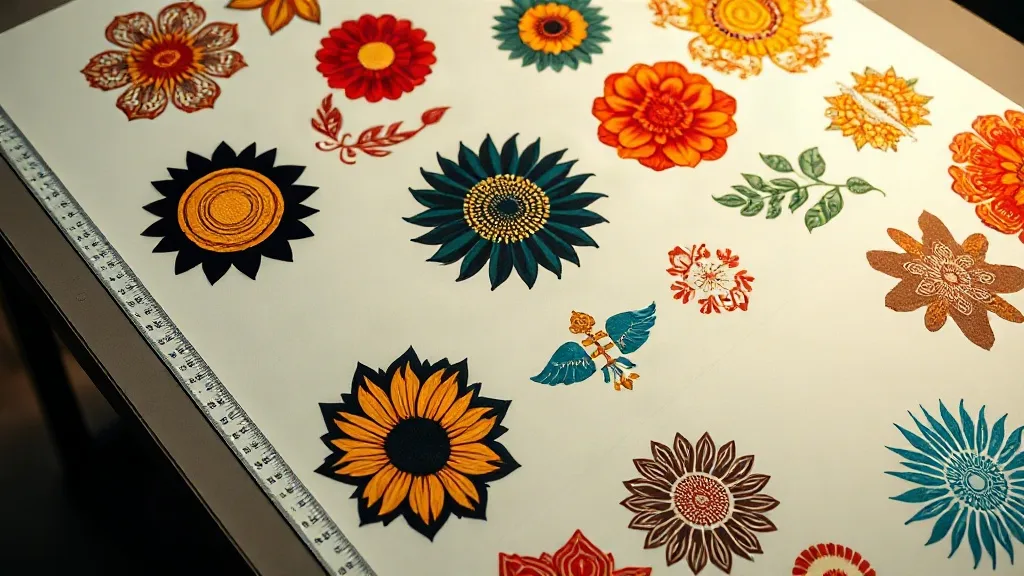
When you hear about a DTF Gangsheet, the conversation usually centers on cost savings and efficiency. But here's what many printers overlook: the way you arrange designs on that sheet can make or break the final transfer. A poorly planned gangsheet doesn't just waste film; it can lead to uneven adhesion, color shifting, and premature peeling. In this article, we'll explore how layout decisions influence the quality of your DTF transfers, and share practical tips to help you achieve flawless results every time.
Why Layout Matters for Transfer Quality
DTF printing involves transferring a design from a special film onto fabric using heat and pressure. The film itself is coated with a release layer and a thermoplastic adhesive. When you arrange multiple designs on a single sheet, the spacing, orientation, and even the type of film you use can affect how heat and pressure are distributed during pressing. If designs are packed too closely, the adhesive from one image can bleed into another, causing ghosting or weak bonds. Conversely, excessive spacing wastes film and increases costs without improving quality.
Moreover, the layout determines how easily you can cut and handle individual transfers. A well-organized gangsheet with clear gaps and consistent margins simplifies trimming and reduces the risk of damaging adjacent designs. This is especially important for small, intricate graphics that require precise cutting.
The Role of Film Selection
Not all DTF films are created equal. The film's thickness, release characteristics, and adhesive coating all interact with your layout. For instance, a thinner film may conform better to textured fabrics but can be more prone to wrinkling if designs are placed too close to the edge. Thicker films offer durability but may require longer pressing times, which can affect surrounding designs if they are not spaced adequately. When planning your gangsheet, consider the film's specifications and how they align with your design density.
Design Spacing: The Goldilocks Principle
Spacing is arguably the most critical layout factor. Too little space and you risk adhesive bleed and difficult cutting; too much space and you waste film. So, what's the right amount? A general rule of thumb is to leave at least 0.25 inches (6 mm) between designs. However, this can vary based on the complexity of the artwork and the film type. For designs with fine details or gradients, a slightly larger gap (0.5 inches) is safer to prevent color migration during pressing. For simple, bold graphics, 0.25 inches may suffice.
Also, consider the edges of the sheet. Leave a margin of at least 0.5 inches from the border to ensure the film lays flat and doesn't curl during printing or pressing. This margin also makes the sheet easier to handle.
Nesting: The Art of Efficient Packing
Nesting refers to arranging designs in a way that minimizes unused space while maintaining adequate gaps. This is particularly useful for irregular shapes. Instead of lining up designs in a rigid grid, try rotating or interlocking them to fill voids. For example, placing a large circular design next to a rectangular one can create a natural fit. Just be careful not to sacrifice spacing for density; always prioritize the minimum gap required for clean transfers.
Orientation and Grain Direction
DTF films have a grain direction, similar to paper. The grain affects how the film behaves when stretched or pressed. Aligning designs with the grain can improve dimensional stability and reduce distortion. Typically, the grain runs along the length of the roll. When creating a gangsheet, try to keep the majority of designs oriented in the same direction to maintain consistency. This is especially important for text or designs with straight lines, as misalignment can be noticeable.
Grouping by Color and Complexity
If your gangsheet includes designs with varying color profiles or complexity, grouping them can streamline the printing process. For instance, place all high-color-density designs together to ensure even ink coverage. Similarly, separate simple one-color designs from complex multicolor ones to avoid over-inking or under-inking. This grouping also helps when pressing, as you can adjust temperature and pressure settings based on the group.
Testing and Iteration: The Key to Perfection
No layout is perfect on the first try. Before committing to a full production run, print a test gangsheet with a few designs and press them onto fabric scraps. Evaluate the adhesion, color vibrancy, and edge definition. If you notice issues like adhesive bleed or incomplete transfer, adjust the spacing or orientation accordingly. Keep a log of your layouts and their outcomes to build a reference library for future projects.
Common Layout Mistakes to Avoid
- Overcrowding: Placing designs too close together is the most common error. It leads to adhesive bleed and makes cutting difficult.
- Ignoring film edges: Designs placed too close to the edge may not press evenly, causing weak adhesion.
- Inconsistent spacing: Varying gaps between designs can cause uneven heat distribution during pressing.
- Neglecting grain direction: Misaligned designs may distort or wrinkle, especially on stretchy fabrics.
- Forgetting to mirror: If your design requires mirroring (e.g., for text), ensure it's applied before layout, as flipping after arrangement can disrupt spacing.
Frequently Asked Questions
How does design spacing affect the durability of DTF transfers?
Proper spacing prevents adhesive from bleeding into adjacent designs, which can weaken the bond. It also ensures each design receives uniform heat and pressure, leading to consistent adhesion and wash durability.
Can I reuse a gangsheet layout for different fabric types?
While the layout itself can be reused, you may need to adjust pressing parameters (temperature, pressure, time) based on the fabric. However, the spacing and orientation can remain the same if the designs are similar.
What is the ideal margin around the edge of a gangsheet?
A margin of at least 0.5 inches (12 mm) is recommended to prevent film curling and ensure even pressing. This also makes the sheet easier to handle during printing and cutting.
How can I test if my gangsheet layout is optimized for quality?
Print a small test sheet with representative designs and press onto fabric scraps. Check for adhesive bleed, color accuracy, and edge sharpness. Adjust spacing or orientation as needed.
Does the type of DTF film influence layout decisions?
Yes. Thinner films may require larger gaps to avoid wrinkling, while thicker films might need more pressing time, affecting how close designs can be placed. Always consult the film's technical specifications.