
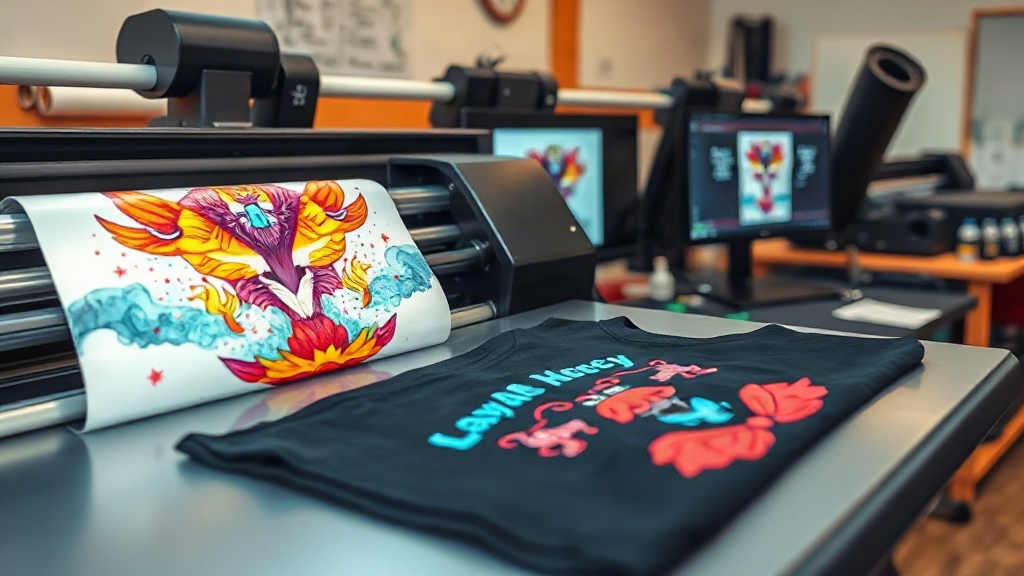
If you've been exploring custom apparel, you've likely encountered DTF printing. This innovative technology is changing how creators and businesses approach fabric decoration. Unlike traditional methods, DTF (Direct to Film) offers unparalleled versatility and vibrant results. In this guide, we'll walk you through everything you need to know to get started with DTF printing, from the basics to pro tips.
What Exactly Is DTF Printing?
DTF stands for Direct to Film. It's a printing process where your design is printed onto a special film, coated with adhesive powder, and then heat-pressed onto fabric. This method allows for full-color, highly detailed prints on a wide range of materials, including cotton, polyester, blends, and even nylon. The key advantage? You don't need to pretreat the fabric or use specialized inks for different colors, making it more accessible than DTG or screen printing.
Why DTF Printing Is Gaining Popularity
Several factors contribute to the rise of DTF printing. First, it's incredibly versatile. You can print on dark and light garments without changing your process. Second, the prints are durable and stretchable, ideal for activewear. Third, the setup cost is lower than screen printing, making it perfect for small businesses and hobbyists. Plus, the color vibrancy rivals other methods, and you can achieve fine details like gradients and photographs with ease.
How DTF Printing Works: Step by Step
Understanding the workflow helps you appreciate the magic. Here's a breakdown of the DTF printing process:
- Design Preparation: Create your artwork in a graphic software. Remember to mirror the image since it will be transferred face down.
- Printing: Use a DTF printer with specialized inks (CMYK plus white) to print onto a PET film. The white ink acts as a base for vibrant colors on dark fabrics.
- Powder Application: While the ink is wet, apply a hot-melt adhesive powder evenly over the design. Shake off excess.
- Curing: Heat the film to melt the powder, creating a dry, tack-free surface. This can be done with a heat press or oven.
- Transfer: Place the film onto your garment and apply heat and pressure with a heat press. The adhesive bonds the design to the fabric.
- Peel: After cooling (or while hot, depending on the film), peel away the film to reveal your vibrant print.
Materials and Equipment You'll Need
To start DTF printing, you'll need a few essentials:
- DTF Printer: Options range from converted Epson printers to dedicated DTF machines. For beginners, a converted printer with DTF ink and film is cost-effective.
- DTF Inks: These are specially formulated pigment inks. Quality matters for durability and color.
- PET Film: Available in rolls or sheets. Choose a film compatible with your printer and desired finish (matte or glossy).
- Adhesive Powder: This is the magic ingredient that bonds the print to fabric. There are different types for various fabrics.
- Heat Press: A reliable heat press is crucial for consistent results. You'll need one that reaches at least 325°F (160°C).
- Design Software: Any vector or raster software works, but ensure you can mirror and adjust colors.
DTF vs. Other Printing Methods
How does DTF stack up against DTG, screen printing, and vinyl? Let's compare:
- DTG (Direct to Garment): Requires pretreatment, works best on 100% cotton, and can be less vibrant on dark colors. DTF eliminates pretreatment and works on more fabrics.
- Screen Printing: Cost-effective for large orders but expensive for small runs and limited colors. DTF excels at full-color, small-batch prints.
- Heat Transfer Vinyl (HTV): Great for simple designs but not for complex images. DTF handles intricate details effortlessly.
Common Challenges and How to Overcome Them
Like any craft, DTF printing has its quirks. Here are frequent issues and solutions:
- Faded Prints: Usually due to insufficient pressure, temperature, or time during transfer. Adjust your heat press settings.
- Cracking or Peeling: Often caused by under-curing the powder or using the wrong powder for the fabric. Ensure proper curing and match powder to fabric type.
- Clogged Printheads: DTF inks can settle. Regular maintenance and daily printing keep nozzles clear.
- Color Inaccuracy: Calibrate your printer and use ICC profiles for consistent color.
Tips for Success with DTF Printing
Ready to dive in? Keep these tips in mind:
- Start Small: Practice with small designs before scaling up.
- Test Fabrics: Not all fabrics behave the same. Test on scraps first.
- Invest in Quality Supplies: Cheap ink or film can lead to poor results and frustration.
- Master the Heat Press: Consistent temperature and pressure are key. Use a infrared thermometer to verify.
- Join Communities: Online forums and groups offer invaluable advice from experienced users.
Frequently Asked Questions
What fabrics can I use with DTF printing?
DTF printing works on a wide range of fabrics, including cotton, polyester, blends, nylon, and even leather. It's particularly effective on dark colors where other methods struggle.
How durable is a DTF print?
When properly applied, DTF prints are highly durable. They can withstand repeated washing without fading or cracking. For best results, wash inside out in cold water and avoid harsh detergents.
Do I need a special printer for DTF?
You can convert a standard inkjet printer (like certain Epson models) to use DTF inks, or purchase a dedicated DTF printer. Conversion is a cost-effective way to start.
Can I print white ink with DTF?
Absolutely. DTF printing uses white ink as a base layer, allowing vibrant colors on dark garments. This is one of its major advantages over DTG.
How do I cure the adhesive powder?
After applying powder, you need to melt it. This can be done in a heat press at around 320°F (160°C) for 2-3 minutes, or in a dedicated curing oven. Follow the powder manufacturer's instructions.
Is DTF printing cost-effective for small businesses?
Yes, DTF printing has a low setup cost compared to screen printing, making it ideal for small businesses, startups, and on-demand printing. You can print one-offs without minimum orders.